Getting Hands-On
If you’ve ever used any other DAW or performance software, you’ll know how valuable a MIDI controller can be in creating fluidity and style when controlling your instruments. Because Ableton is meant for Live use, the addition of a MIDI controller can completely transform your Live performances. It’s possible to get by with a mouse and keyboard if you really work at it, but a MIDI controller can open your performances up.
The use of physical knobs and faders is smoother, more accurate, and the ease with which you can make adjustments will buy you a extra few seconds between inputs, meaning you’ll be less frantic and hurried.
 Learning Curve
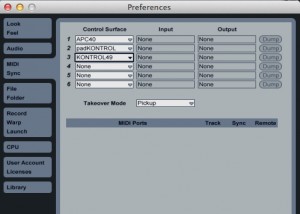
Setting up a controller in Ableton is much the same as it would be in any other DAW. Connect the device via USB or a standard MIDI interface, then access the “Preferences” window. You can find this in the drop-down menus at the top of the screen, or by pressing “Cmd and ,” on a Mac, or “Ctrl and ,” on a PC. Select the “MIDI / Sync” tab and you’ll see an array of drop-down boxes in three columns.
Select your MIDI controller from the first column, then assign the inputs and outputs as required from the second and third. If your controller does not appear in the list, then you may need to install the device drivers that came with it.
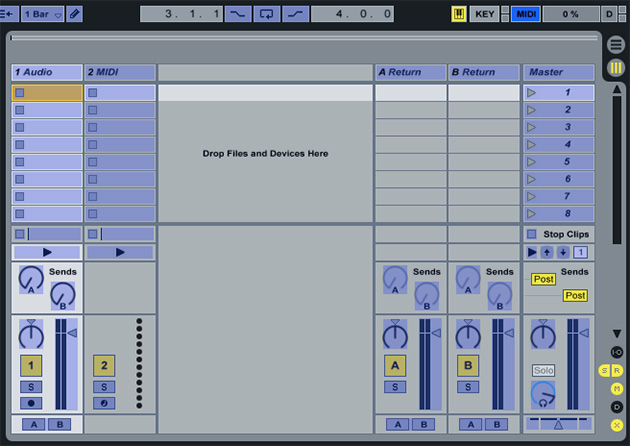
Some controllers are supported by Ableton right out of the box, with what’s known as a “Native Mapping.” This means that the controls on the device are already assigned to parameters in the software. If your controller doesn’t come with a native mapping, or you want to customize the existing one, it’s refreshingly straightforward. Click the “MIDI” button on the right edge of the top menu bar, and you’ll notice a blue overlay cover most of the controls. This signifies that the software is in “MIDI Learn” mode. Use your mouse to click on a control, a trigger, fader or knob in the application. A selection box will appear around it. Then move the corresponding knob or button on your controller. The two should become automatically linked. Click the “MIDI” button again to leave “MIDI Learn” mode, and continue playing.
Controller Types
There are three main types of MIDI controller when looking at Ableton. Standard, generic MIDI devices, devices designed specifically to work with Ableton, and DJ controllers. Either kind can be tremendously beneficial in streamlining your performances, but its important to consider exactly what you want to use the controller for. If you want to play in some melodies using keys, and manipulate some effect parameters, then a keyboard with some rotary knobs will suit you fine, and it’ll also be useful in any other DAW software you use. You may already have a standard keyboard or DJ controller.
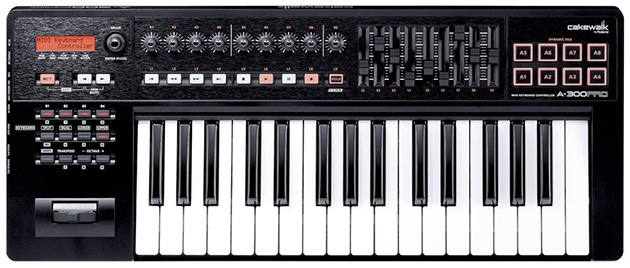
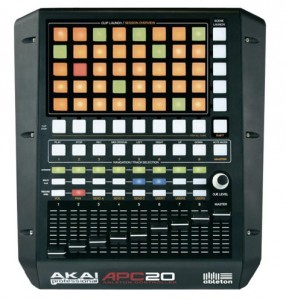 However, its layout might be a little counter-intuitive if you want to use it for triggering clips and mixing live tracks. This is where an Ableton-specific controller, such as Akai’s APC-20, or the Novation LaunchPad, might be more suitable. Its control layout mirrors the on-screen controls in Ableton, and it is Natively-mapped to those buttons and faders. You connect it up, start Ableton and you instantly have hands-on control of the software. Obviously an Ableton-specific controller is going to be of less use if you also use Reason or Logic, but the controls can be manually re-assigned to operate the mixer in those applications.
If you own a DJ controller, chances are, there will be no native support as standard, as Live isn’t really considered a DJ application as such, but as we saw earlier in the article, it’s simple enough to assign the relatively small number of controls found on a DJ controller to the functions in Ableton. Once you assign your faders to the mixer channels and crossfader, and the start-stop buttons to some of the clip triggers, you can start getting creative. Try adding in an EQ effect to each track, then assigning some of your controller’s rotary controls to the knobs on each effect unit. It’s just like the hardware EQs on an analog mixer. The digital DJ controller can be the best choice if you want to simulate a familiar control surface.

